
How To Connect to Your New DigitalOcean Droplet
We’ve just provisioned a new Ubuntu 24.04 LTS droplet in Digital Ocean. What to do next?
When creating a new droplet in DigitalOcean, we must provide our public SSH key. DigitalOcean places this key in the new droplet. This way we can securely connect to the VM from our local machine.
If we don’t have a key, we must create one using the ssh-keygen command.
ssh-keygen -t ed25519
We can also include an email.
ssh-keygen -t ed25519 -C "my_email@my_domain"
We will copy and paste our public key into the Add public SSH key box
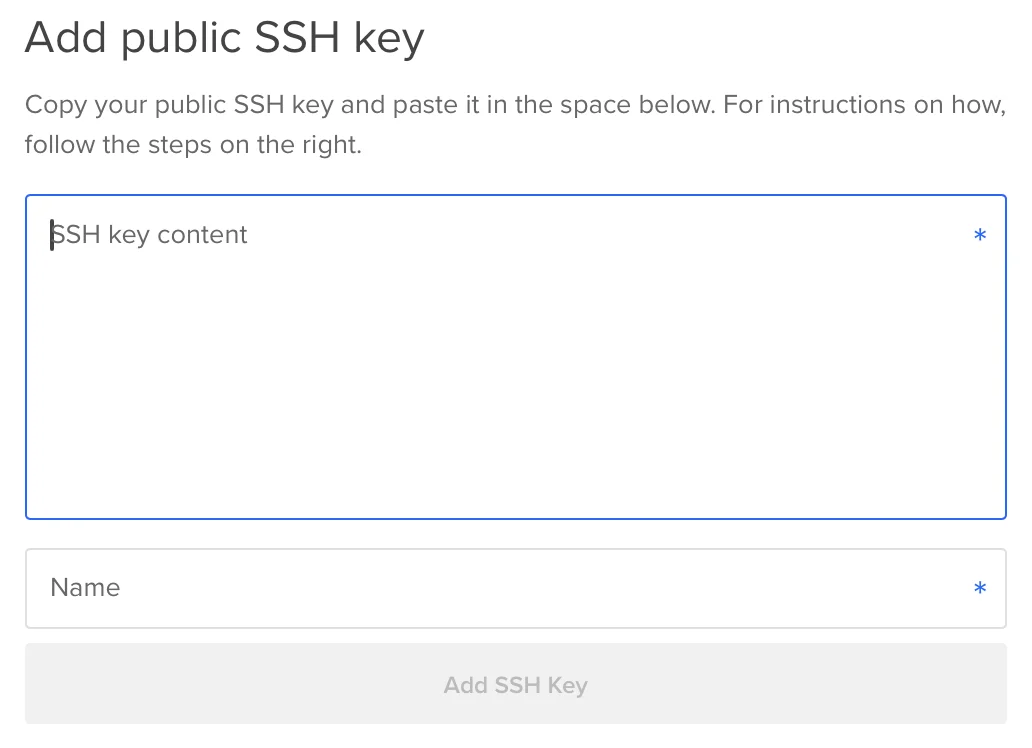
and hit the Create Droplet button at the bottom of the page. That’s it. In less than a minute, we can securely log in to the VM.
Connecting to the Virtual Machine as root
Once the VM is up and running, we can try to connect to it. Note that we need to use the root account.
ssh -i private_ssh_key root@droplet_ip_address
Where:
private_ssh_keyis the private key that we created (ssh-keygen command) and added to the VMdroplet_ip_addressis the IPv4 public address assigned to the VM
Creating a new user
We have used the root account until now. Since we are concerned about fundamental security hygiene, we need to create a new user account.
Let’s add a new user, for example, mick, using the adduser command.
adduser mick
Next, we will answer a few questions (including a password) and a new account will be created.
info: Adding user `mick'...
info: Selecting UID/GID from range 1000 to 59999 ...
info: Adding new group `mick' (1001) ...
info: Adding new user `mick' (1001) with group `mick (1001)'...
info: Creating home directory `/home/mick'...
info: Copying files from `/etc/skel'...
New password:
Retype new password:
passwd: password updated successfully
Changing the user information for mick
Enter the new value, or press ENTER for the default
    Full name []: mick
    Room Number []:
    Work Phone []:
    Home Phone []:
    Other []:
Is the information correct? [Y/n] y
info: Adding new user `mick' to supplemental / extra groups `users'...
info: Adding user `mick' to group `users'...
Since we plan to use the new account with the sudo capabilities, we must add it to the sudo group.
usermod -aG sudo mick
Where:
usermodis a command to modify user-aGadds the user to a new groupsudois a destination group for the usermickmickis the account (user) name that we add to thesudogroup
Testing new settings
We will switch to the new account and verify whether the new user, mick, has sudo privileges.
su - mick

To run a command as administrator (user "root"), use "sudo <command>".
See "man sudo_root" for details.

mick@ubuntu-lab1:~$
Once we switch to the mick user, we can verify if mick can, for example, list files in a directory owned by root.
sudo ls -la /root
The results look promissing.
[sudo] password for mick:
total 40
drwx------  5 root root 4096 Mar  5 06:20 .
drwxr-xr-x 22 root root 4096 Mar  5 07:00 ..
-rw-------  1 root root  167 Mar  5 06:36 .bash_history
-rw-r--r--  1 root root 3106 Apr 22  2024 .bashrc
drwx------  2 root root 4096 Mar  5 06:07 .cache
. . .
We can list files in the /root directory. We’ve just confirmed that mick can execute commands with sudo privileges.
What’s next?
So far, we have logged into the machine as root using a pre-defined SSH key. However, our goal is not to use the root account for logging. The goal is to log in as a user mick using its own SSH key.
We need to configure the system so that mick can use his own SSH key to log in to the VM.
Configuring SSH for mick’s account
The first step is to create a hidden .ssh directory in mick’s home directory (/home/mick/.ssh/). We will keep mick’s SSH config files and public SSH keys in this directory.
mkdir ~/.ssh
Note that the ~/ resolves to the mick home directory.
In the .ssh directory, we need to create the file authorized_keys and place the mick public SSH key in it.
touch ~/.ssh/authorized_keys
Next, we copy the content of the public ssh key file we created on our local machine and paste it into the authorized_keys file. Then, we save and close the file.
Verifying remote ssh login
In the last step, we verify whether we can log in from our local machine to our VM using mick SSH credentials.
ssh -i <mick_prv_ssh_key> mick@<vm-ip-address>
Where:
-itells the SSH command what private key we are using to connectmick_prv_ssh_keyis the path to the SSH private key for the mick usermickis the Linux account name (user) on our VMvm-ip-addressis the public IPv4 address DigitalOcean assigned to our VM
If everything goes according to plan and we configure everything correctly, we log in to our VM as mick.
Welcome to Ubuntu 24.04.2 LTS (GNU/Linux 6.8.0-55-generic x86_64)

 * Documentation:  https://help.ubuntu.com
 * Management:     https://landscape.canonical.com
 * Support:        https://ubuntu.com/pro

 System information as of Thu Mar  6 16:50:38 UTC 2025
. . .
mick@ubuntu-lab1:~$